Upgrades
It is always recommended to stay up to date with the latest version of any software to avoid running into unnecessary bugs by receiving the latest updates from us. There are three(3) things to remember everytime you run upgrade: Backup! Backup!! Backup!!!. Once you're ready, you may proceed.
Updating/Upgrading Wanderers
Upgrading Wanderers template is just a simple as installing over the new template. You could either:
- Install the latest Wanderers template over the existing component, or
- Uninstall the previous version and install the latest version again.
If you're upgrading Wanderers template from V1 to V2, please follow guide below.
Updating/Upgrading Wanderers from V1 to V2
Upgrading Wanderers from V1 to V2 is different from usual template upgrades. This is because of Wanderers V1 and Wanderers V2 has a different structure, thus, upgrading with the usual way will not be working well. Here are steps you can follow to upgrade Wanderers template.
1. Uninstall the existing Wanderers V1 from your site.
2. Once finished uninstall, you can install the new Wanderers V2 on your site.
#NOTE: You can refer here on Wanderers Installation guide.
Creating Sub-Menus
As far as we come here, we would like to congratulate you on your successful installing Wanderers template on your site. Yay!
Now, lets continue our documentation on creating sub-menus for your site. The process of creating sub-menus for Wanderers is different. You'll need some focus here. The sub-menus for Wanderers is located here.
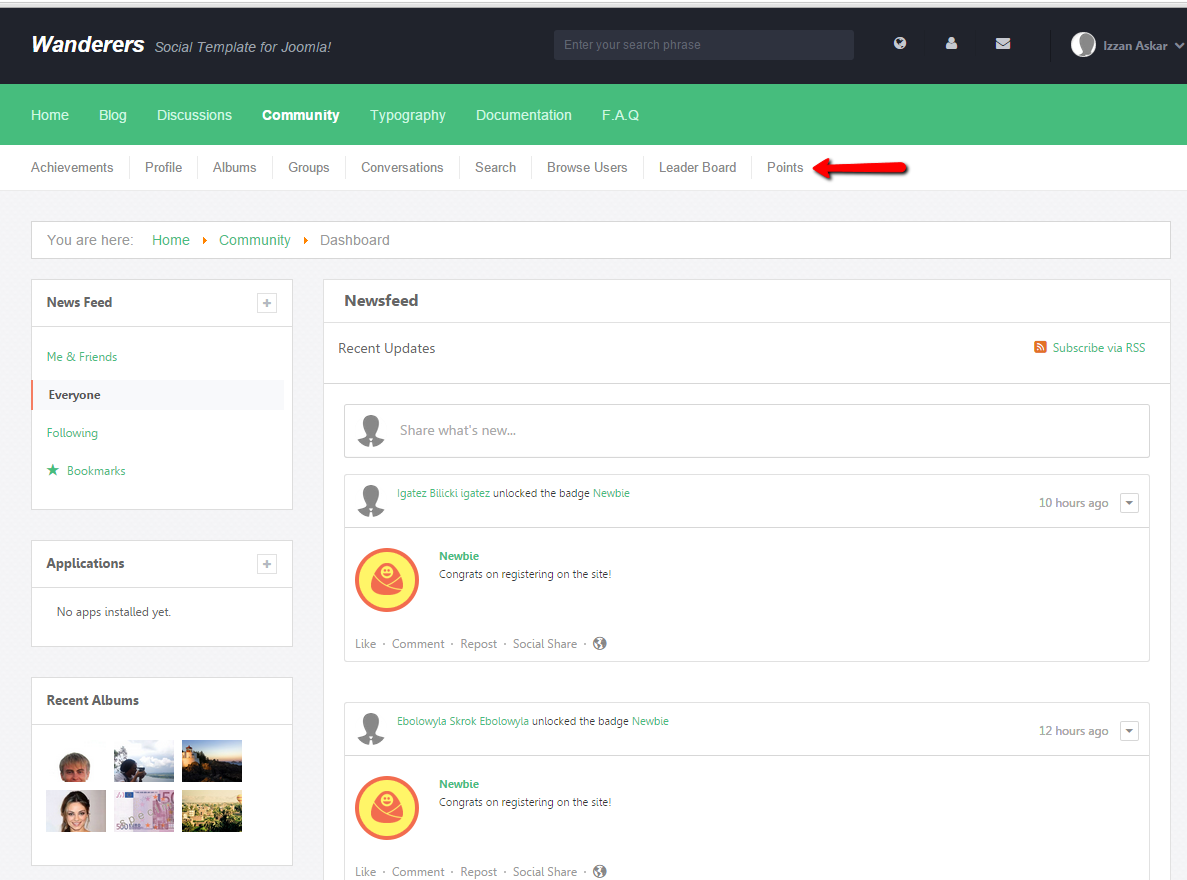
Creating Sub-Menus
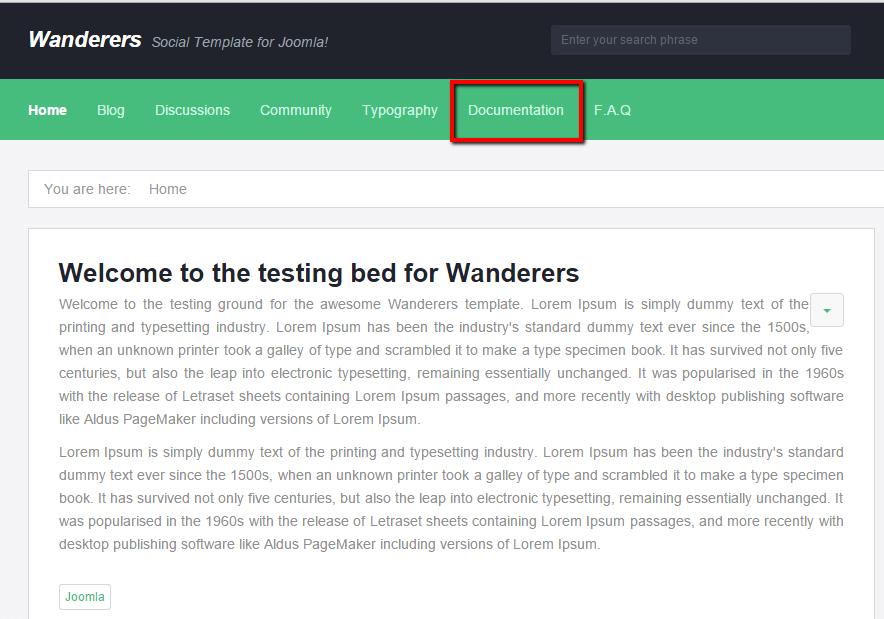
1. Login to your backend and navigate to Menus > Main Menu. From there, choose the main menu that you wishes to add your sub-menu to. In this documentation, we'll show you how to add a sub-menu under Documentation.
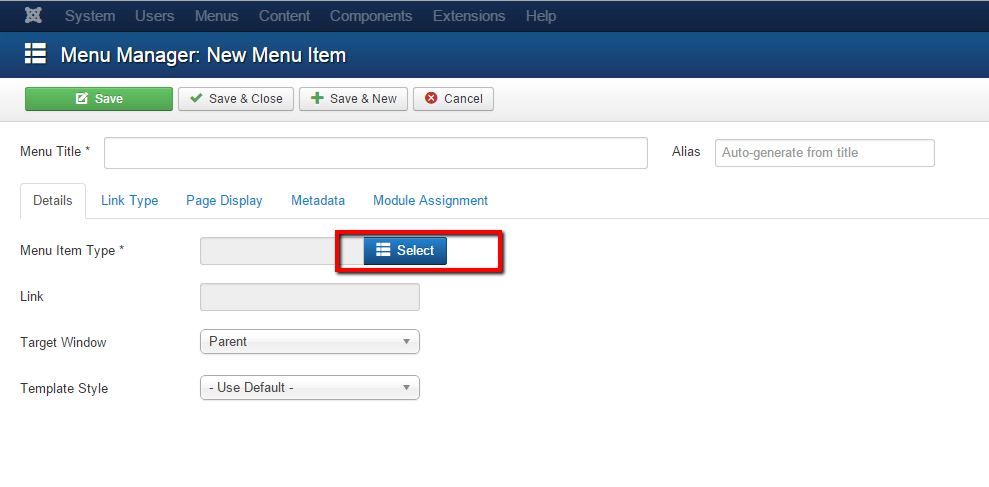
2. Next, from the selected main menu, click on New button. You will be arrived at the New Menu Item creation page. For this documentation, we will assign a single article to the menu we're about to create. Having said that, on the Menu Item type, click on the Select button. A popup menu will be shown.
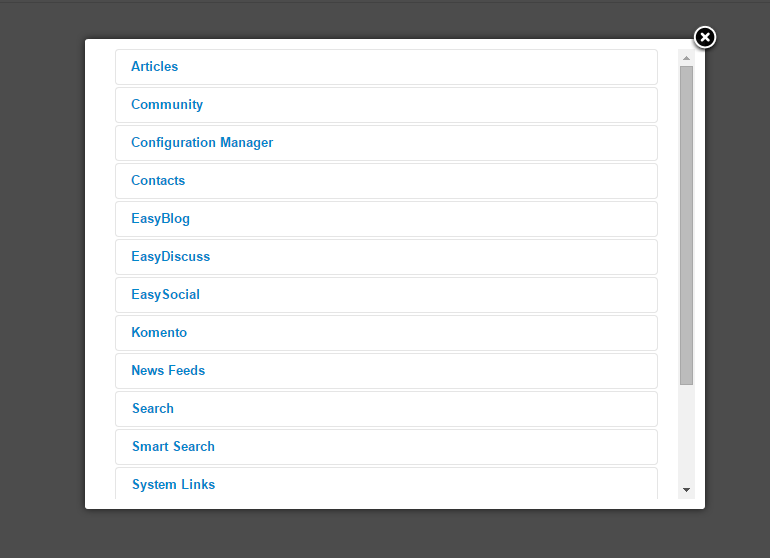
3. Next, click on Article > Single Article.
4. Put a name for this menu. For this documentation, we'll name it as Creating Sub-Menu. Take now that the alias for this menu will be created automatically.
5. On the Select Article field, click on Select button and choose the desired Joomla Article that you want the menu to show.
6. On the Parent Item, choose the parent menu that you wish the sub-menu to be assigned to. We'll assign this sub-menu to Documentation.
7. Step 2 until 5 are actually process of assigning the behavior for the menu. You can assign any other behavior to this sub-menu, from Joomla article to any EasySocial's photo albums.
Displaying the Sub-Menus
1. Now, navigate to the Parent Menu via Menus > Parent Menu. Select Menus > Documentation.
2. Click on New button to create another menu. But this time choose System Links > Menu Item Aliases.
3. Next, As for the Menu Item, choose the sub-menu which you've created on Step 6 before.
4. You can enter the name of this menu. This name will be appear on the frontend as this sub-menu name.
5. Finally, click on Save button to store this menu item.
That's it!. Your menu should be appear under the parent menu that you've created earlier. :)
#PROTIP: If the menu doesn't appear, navigate to your backend > Menus > Your Parent Menu. From there, click on the Rebuild button and your sub-menu should be appeared.
Installing Wanderers
Thank you for purchasing Wanderers Template from us. Here is the documentation on how to configure/install Wanderers template on your site. The installation process is fairly easy and straight forward.
Obtaining Wanderers
1. If you're new here and would like to make a purchase this template, head on to http://stackideas.com/apps and search for Wanderers on the apps page.
2. If you already purchased it, click on the Download button to get the template.
3. You should be downloading a zip file named wanderers2_unzip_first.zip. Got it? Perfect.
4. Next, you will need to unzip the downloaded zip file as it contains 2 installers; tpl_wanderers_25.zip and tpl_wanderers_30.zip. Let's move on to the installation!
Installing Wanderers
1. Navigate to your Joomla backend and click on Extensions > Extensions Manager
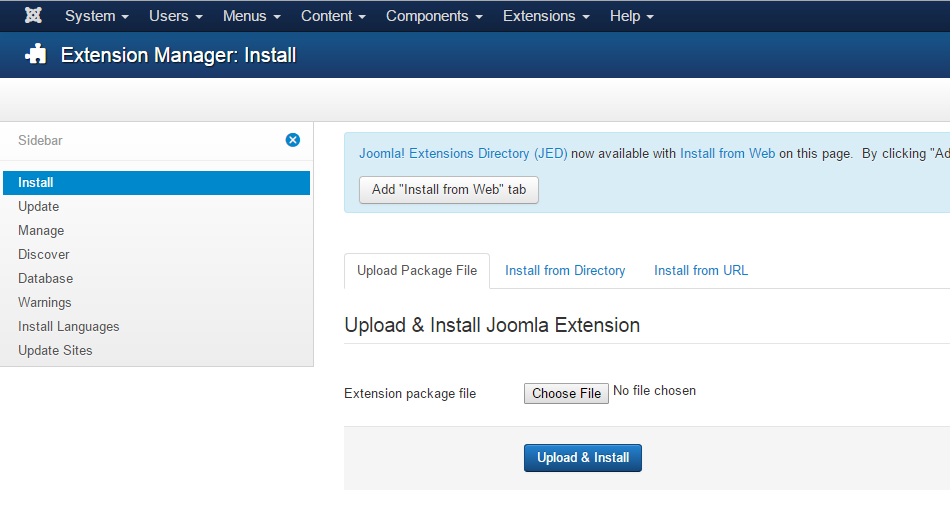
2. Under Install and Upload Package File, click on the Choose File button. There should be a file popup window requesting for the file that you wishes to upload. Choose tpl_wanderers_30.zip if you're currently using Joomla! 3 or choose tpl_wanderers_2.5.zip if you're currently using Joomla! 2.5.
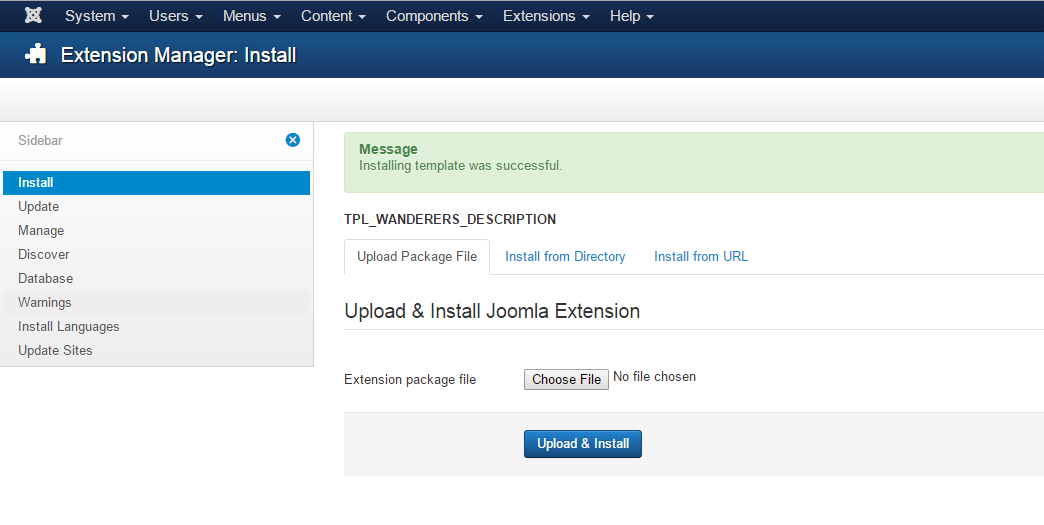
3. Proceed the installation process by clicking Upload & Install button. Follow the on-screen's instruction and you should be getting the Installation template was successful message.
Applying Wanderers
1. Now, you can apply Wanderers template on your site by first navigating to your backend and click on Extensions > Template Manager.
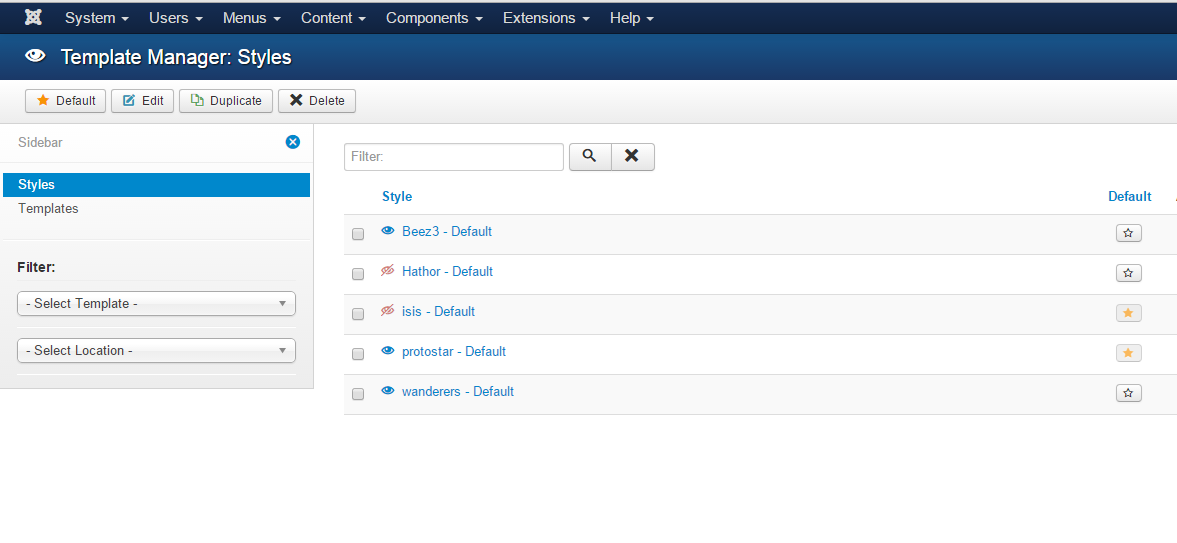
2. Next, click on the Star button to apply the template to be the default template of your site.
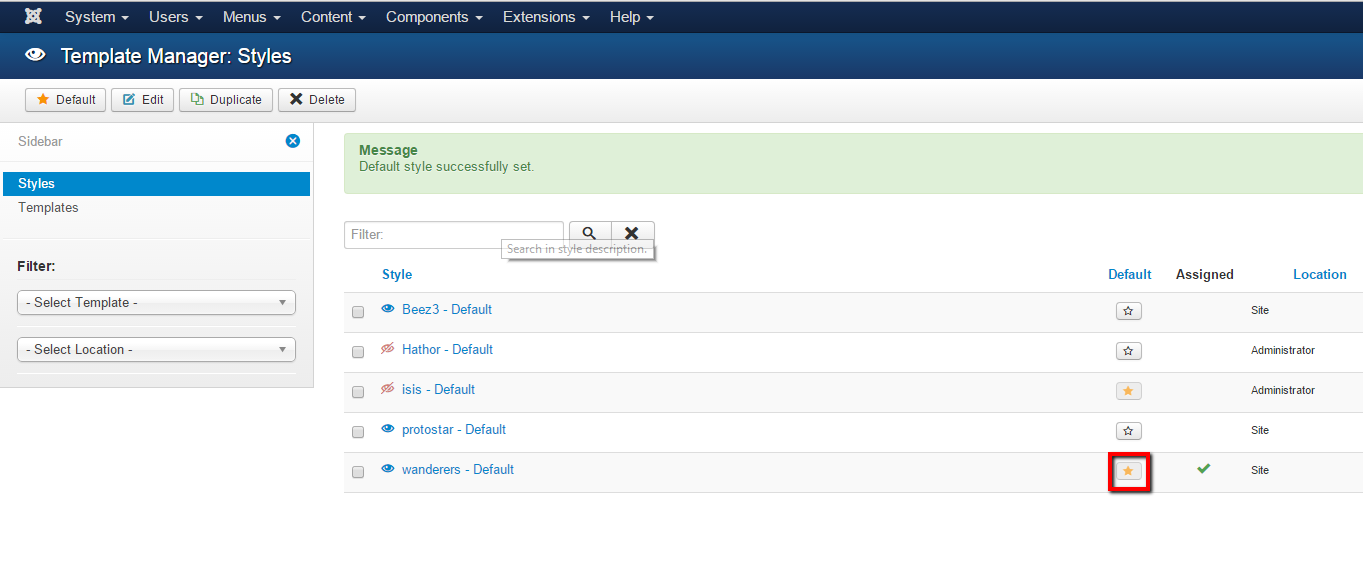
That's it! Wanderers is now the default template for your site. Now, let's configure some modules!
Module Positions
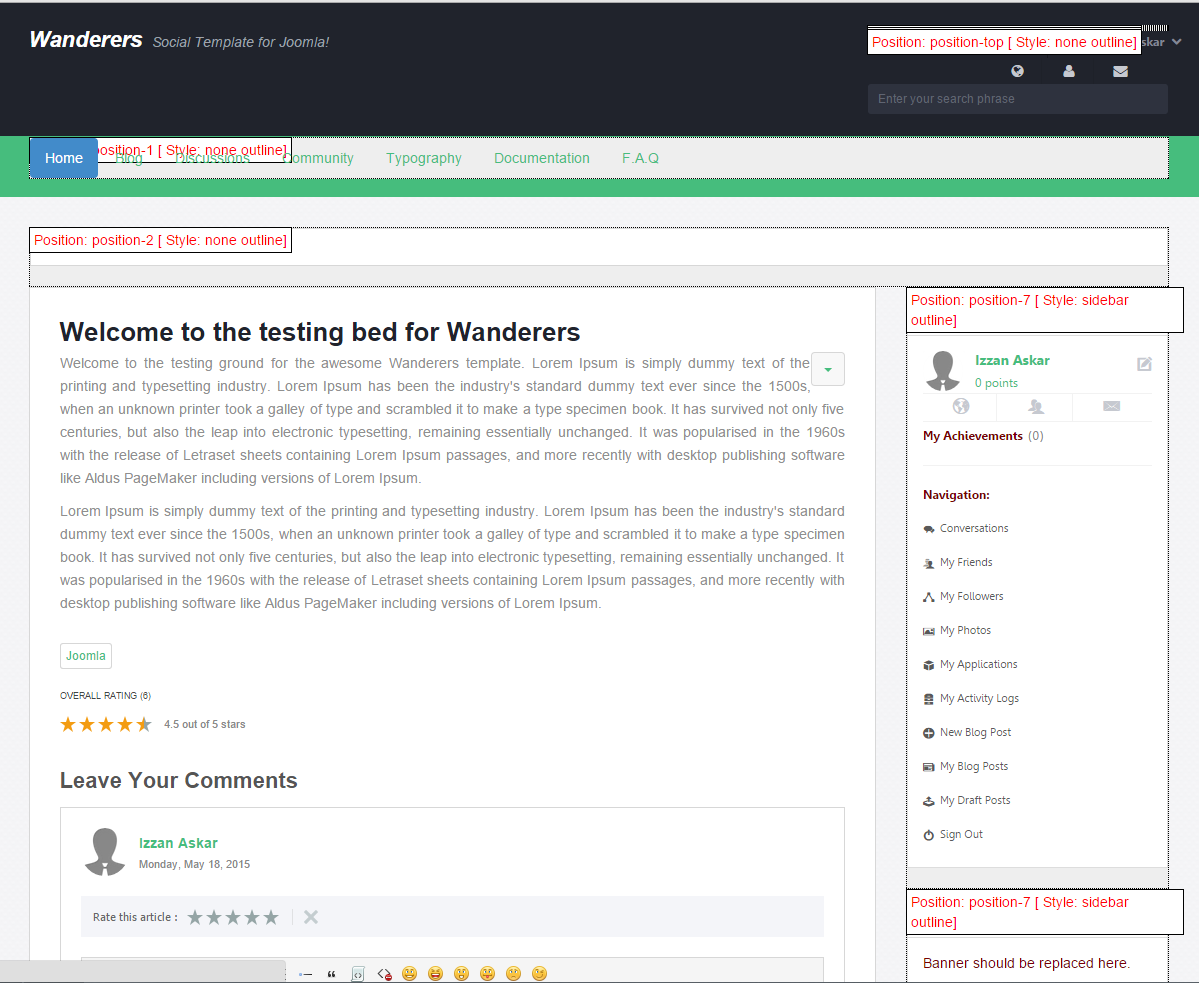
This template also comes with several module positions out of the box. Before we proceed, here are the default module positions available on Wanderers template.
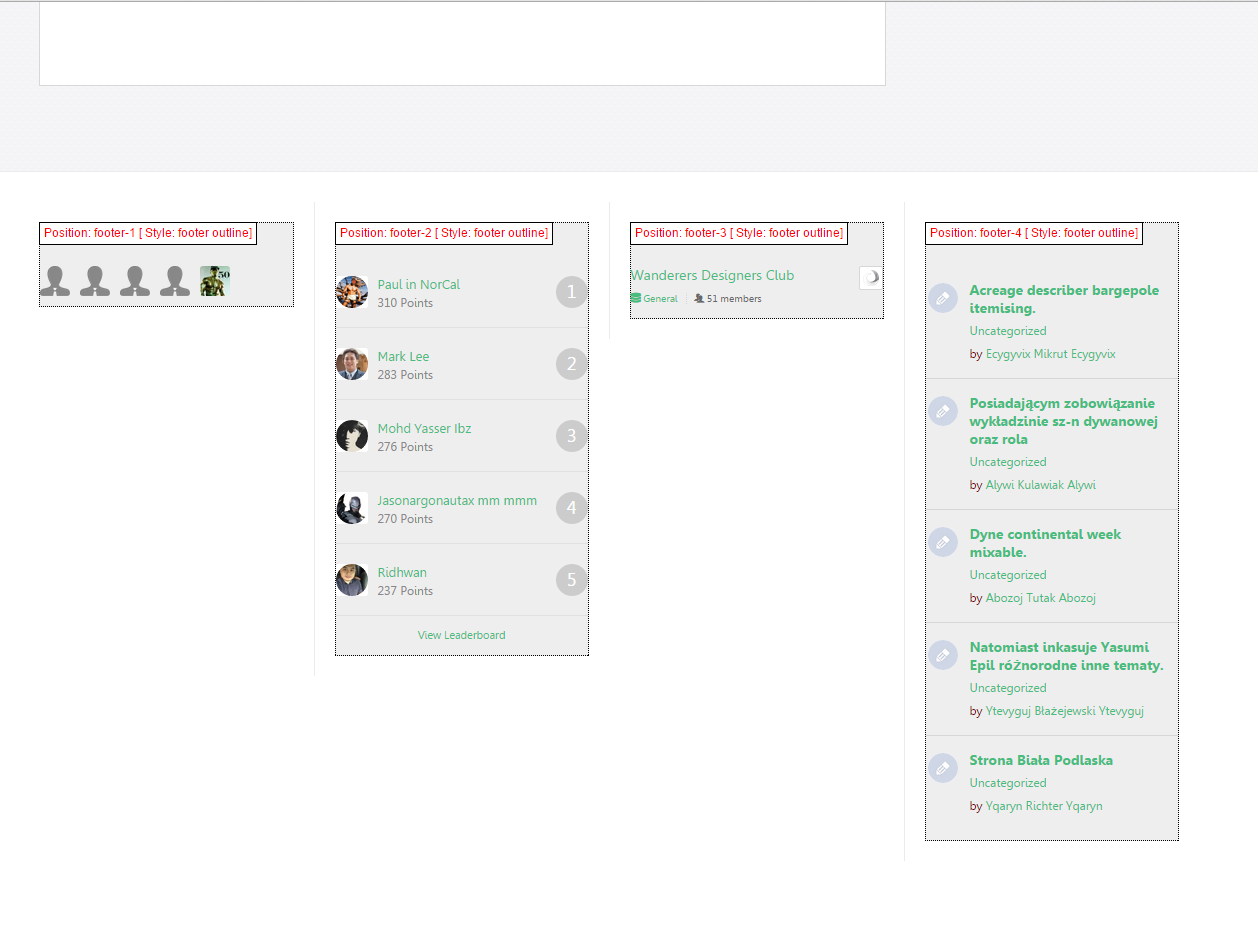
Once we're familiar with the module positions, let's get on with the process of configuring the modules!
How to Configure Modules based on Module Positions
1. Firstly, navigate to your Joomla backend: Extensions > Module Manager.
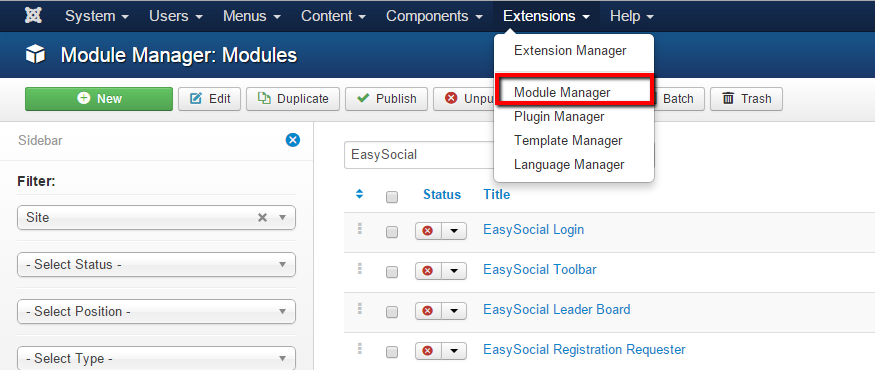
2. In the Module Manager page, click on any of the available modules that you wishes to assign in Wanderers. For this documentation, we'll show you the Online Users module. After clicking on the desired module, the module setting page will be appear.
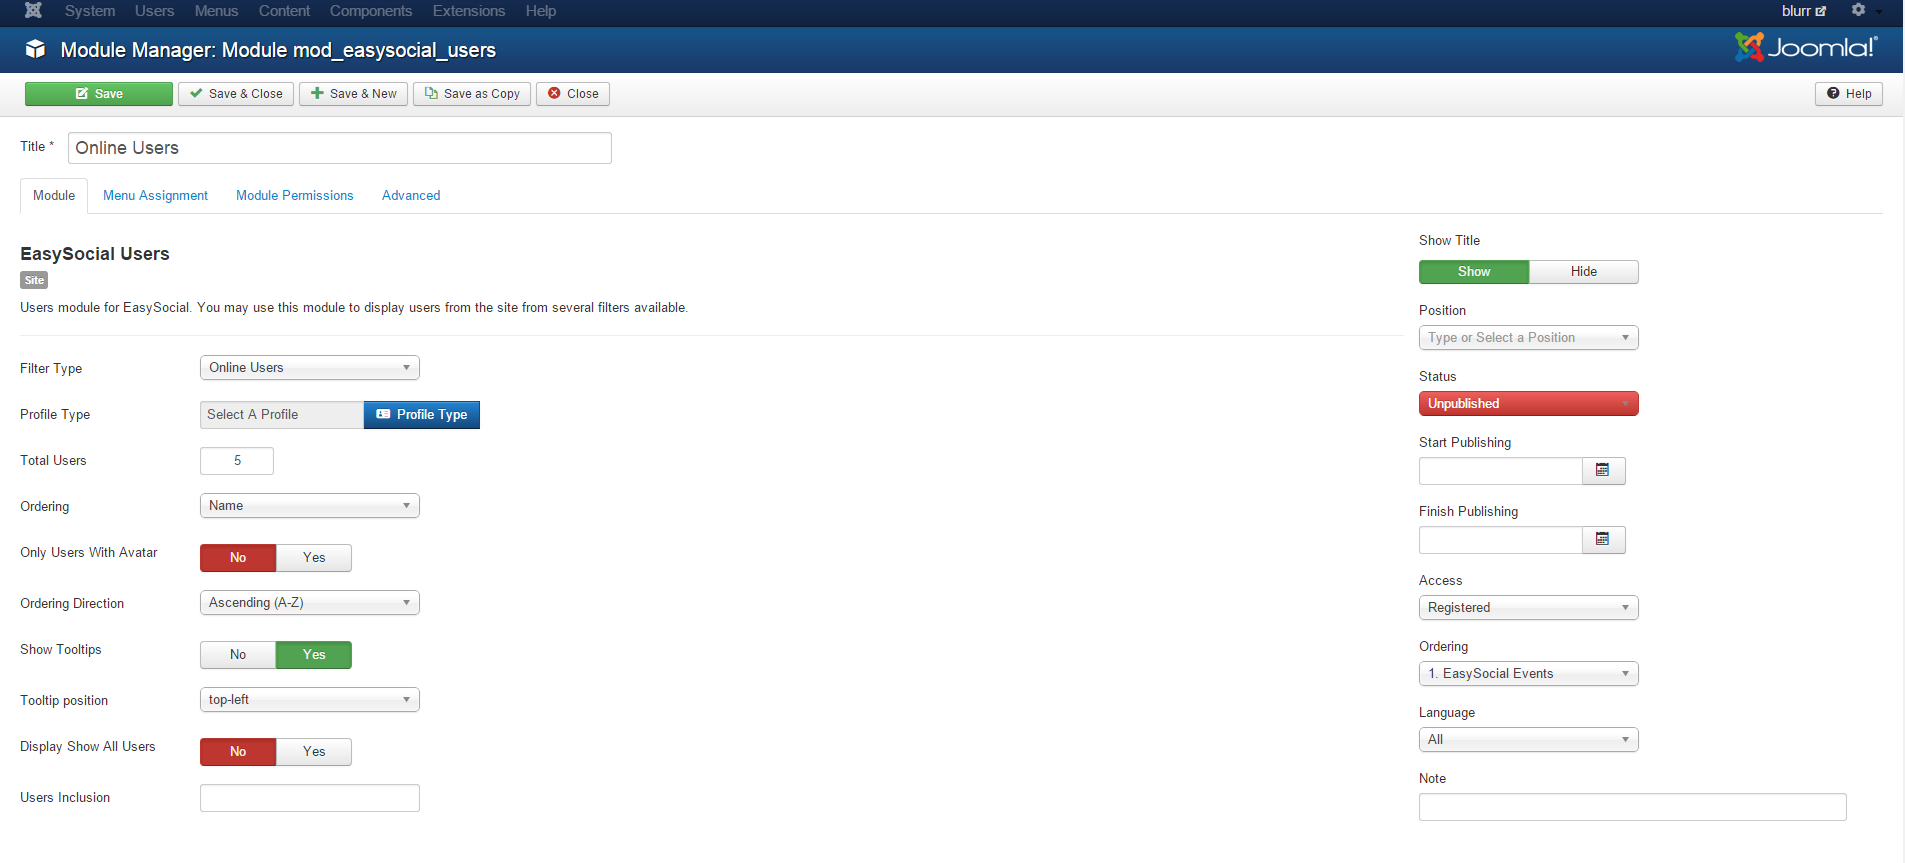
3. Next, click on the dropdown menu labeled as Position.
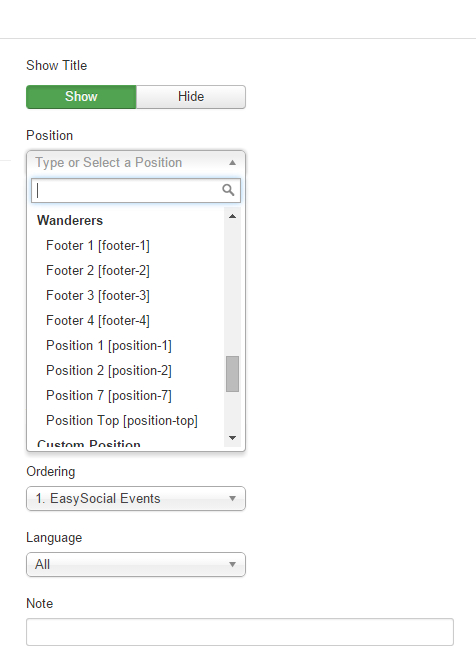
4. Next, choose the positions that are presented under Wanderers. For this documentation, we'll choose Footer 1[footer-1] for the Online User module.
5. You might want to click on the Module Assignment tab to ensure that Module Assignment is set accordingly. This setting will allows you to set which page will the selected module be shown. For this documentation, we'll choose On All Pages.
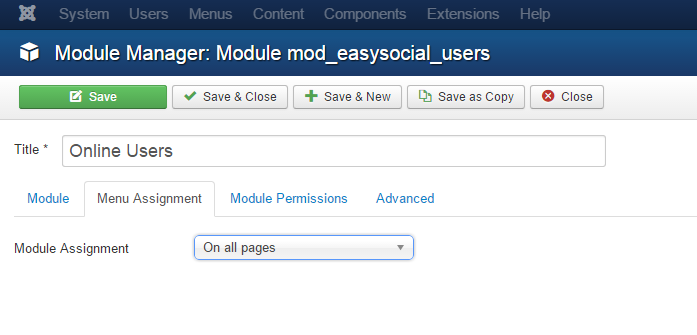
6. Once it's done, click on Save button to store the configuration. Your modules should be shown in the position that you've chosen/ In our case, it is footer-1.
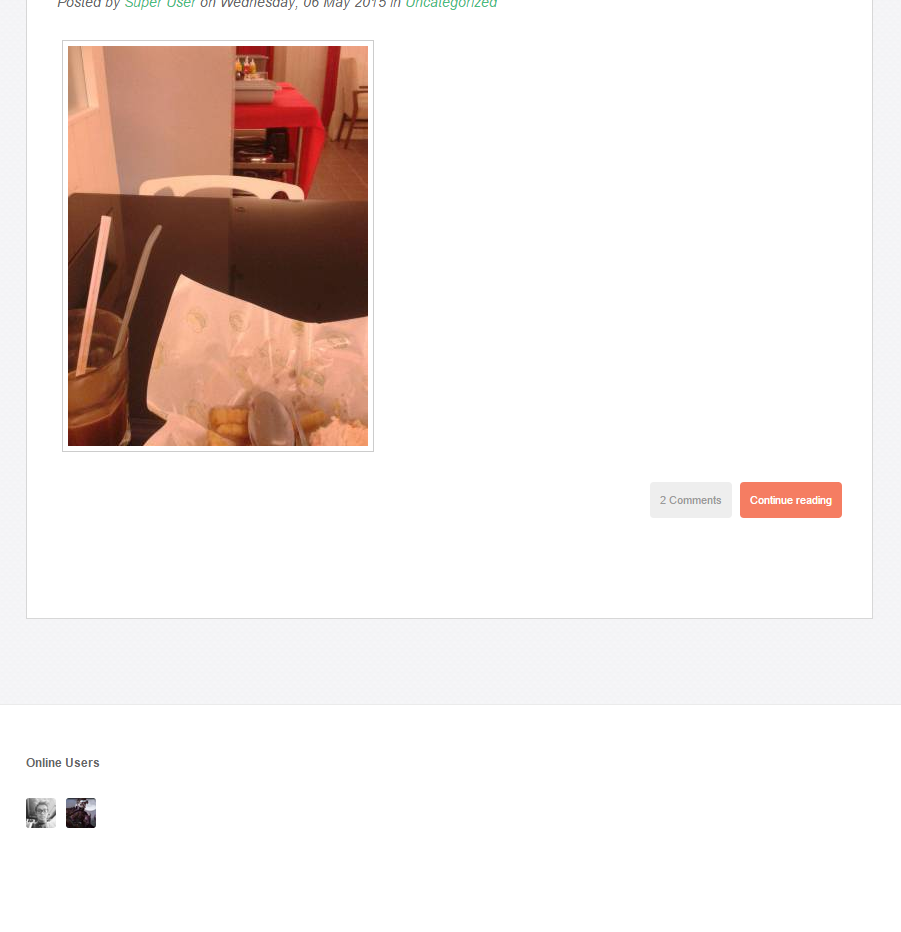
That's it! You're done with the configurations and now it is time to make some cash. :)
Documentation
In this section, you will be able to find the resources on how you can setup your new template to look similar to this site.
1. Installation
